Abstract
I’ve already built a smart home system based on Home Assistant. The most important task is showing the states of both bathrooms‘ doors sensors because I don’t want to physically check them just like checking other dudes' excretion duration… And sometimes is just too lazy to take out the phone and check the next bus to the city center, or just too lazy to check the real feel temperature.
There is. An ESPHome-based desktop terminal, which shows all needed information.
Components
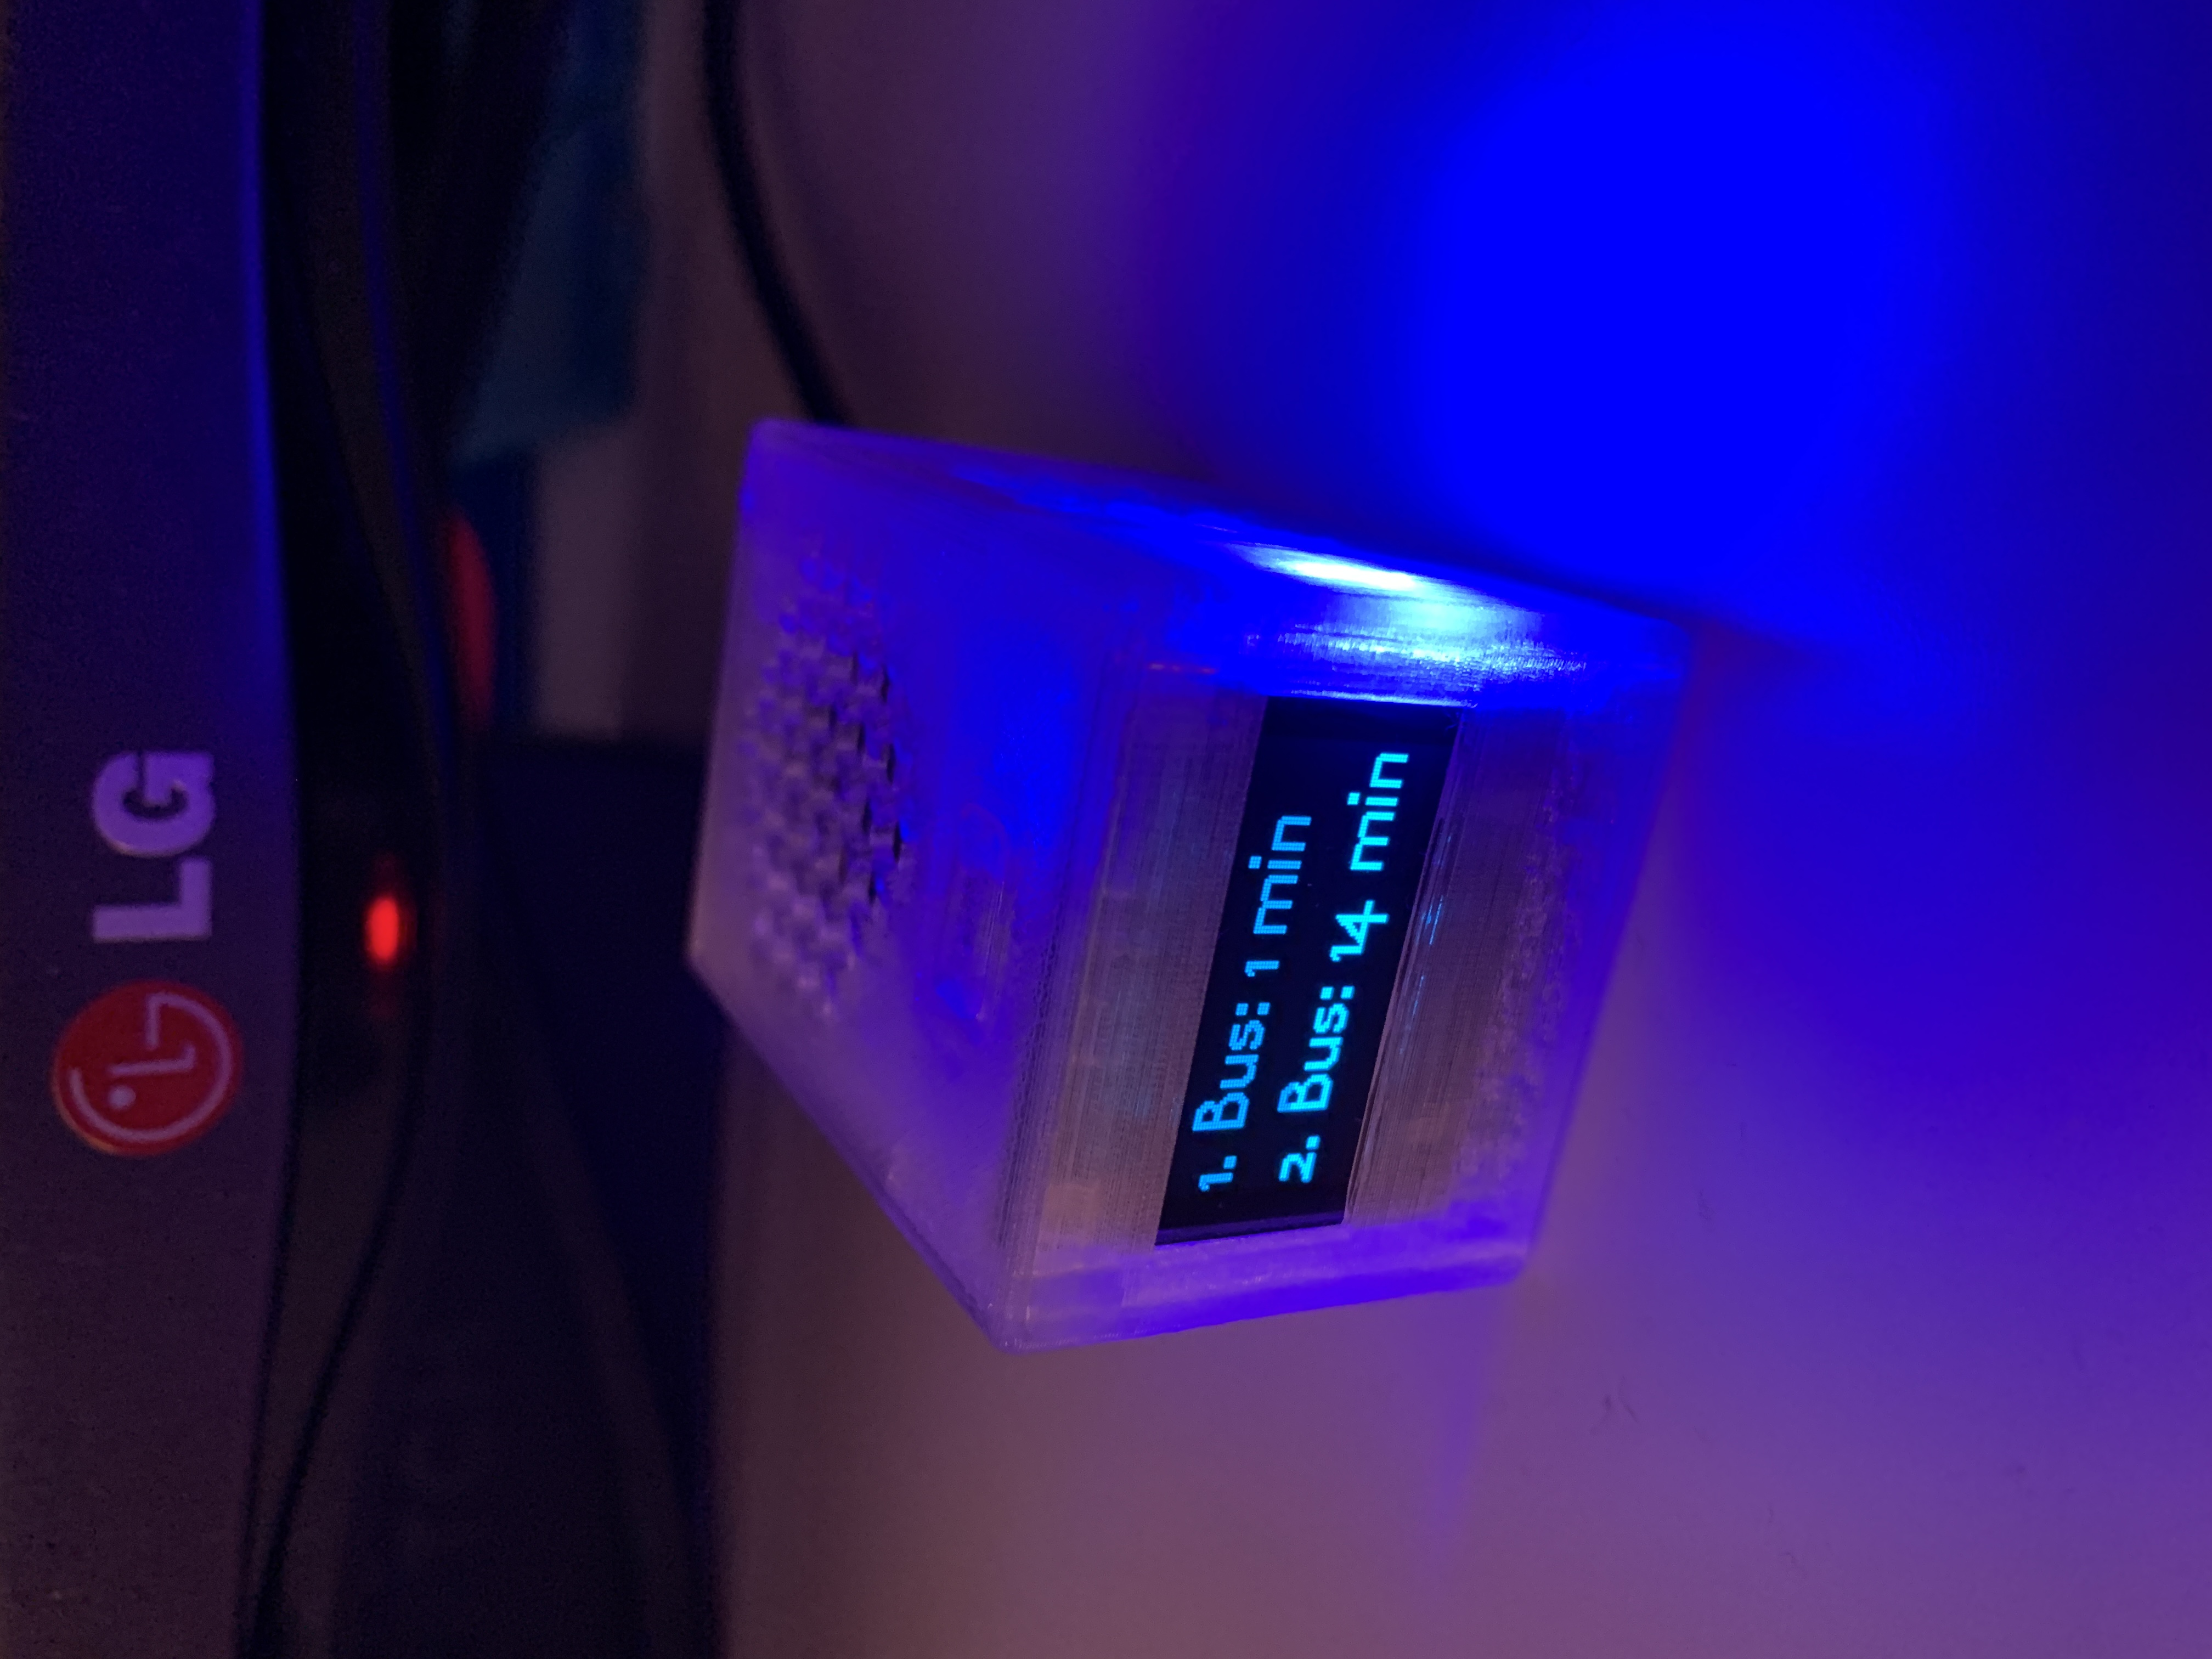
The terminal is built based on Wemos D1 Mini, which is using ESP8266 as the main controller. It is conntected with a BME 680 sensor, a ssd1306 OLED, two led for showing doors' states and a button.
OLED burn-in protection
If the normal blue OLED display keeps showing something similar, the pixel of it might be damaged. Therefore, we can let it display some sort of display protection animation or set some mechanism to shut the display down. The funniest thing is, that we have everything to make the display show animation. But the display is way too rubish…the refresh rate, the low resolution. It doesn’t deserve it. So in my third version, I’ve added a button to change the pages of the display and after 10 seconds, the display is shut down.
Pull-up resistor
As you might know, the input signal might be disturbed, although it is connected directly by wire. Therefore, we should use a pull-up resistor, which could keep the GPIO voltage always high level. It just simply connects the 3.3v to the input GPIO through a 10 KOhm resistor. If someone presses the button, and because the button resistance is way smaller than the 10KOhm resistor, so the input GPIO voltage is forced to become low level, just like shortcut the GPIO direct to the ground. As an alternative, Wemos D1 Mini provides a build-in pull-up resistor at pin D3 and D4 (D4 with onboard LED). We can also activate them with configs.
Some dumb things about the timer in ESPHome
Timer
Normally, once the program is interrupted by pressing the button, another program should run. In our case, ideally, should be either “turn on the display and show the first page, timer initialized” or “switch to the next page, timer refreshed 10 sec.”. However, ESPHome provides only an initializor for the timer. If we keep using - delay: 10 s after button pressing, tones of the timer are created…So, save some hair for the future. Just set up a timer once the button is pressed…
binary_sensor:
  - platform: gpio
    pin: 14
    id: display_button
    name: "display button"
    on_press:
      then:
        - if:
            condition:
                 // use global var flag_dis to distinguish the presses
                lambda: return id(flag_dis) == 0;
            then:
                - display.page.show: page1
                - globals.set:
                    id: flag_dis
                    value: '1'
                - logger.log: "10s timer is set"
                - delay: 10 s
                - display.page.show: page_off
                - globals.set:
                    id: flag_dis
                    value: '0'
                - logger.log: "time's up"
            else :
                display.page.show_next: terminal_display
Bugs of display contents?
I’ve seen an official example, which uses lambda function to determine the display content.
display:
  - platform: ...
    # ...
    lambda: |-
        if (id(my_binary_sensor).state) {
            it.print(0, 0, id(my_font), "state: ON");
        } else {
            it.print(0, 0, id(my_font), "state: OFF");
        }
        // Shorthand:
        it.printf(0, 0, id(my_font), "State: %s", id(my_binary_sensor).state ? "ON" : "OFF");
My suggestion is, don’t do that. Just in my case, it will crash your program in a couple of hours. You could just simply create a new page for shutting down the display
display:
- platform: ssd1306_i2c
model: "SSD1306 128x64"
id: terminal_display
pages:
// page to shut down the display
- id: page_off
lambda: |-
it.fill(COLOR_OFF);
- id: page1
lambda: |-
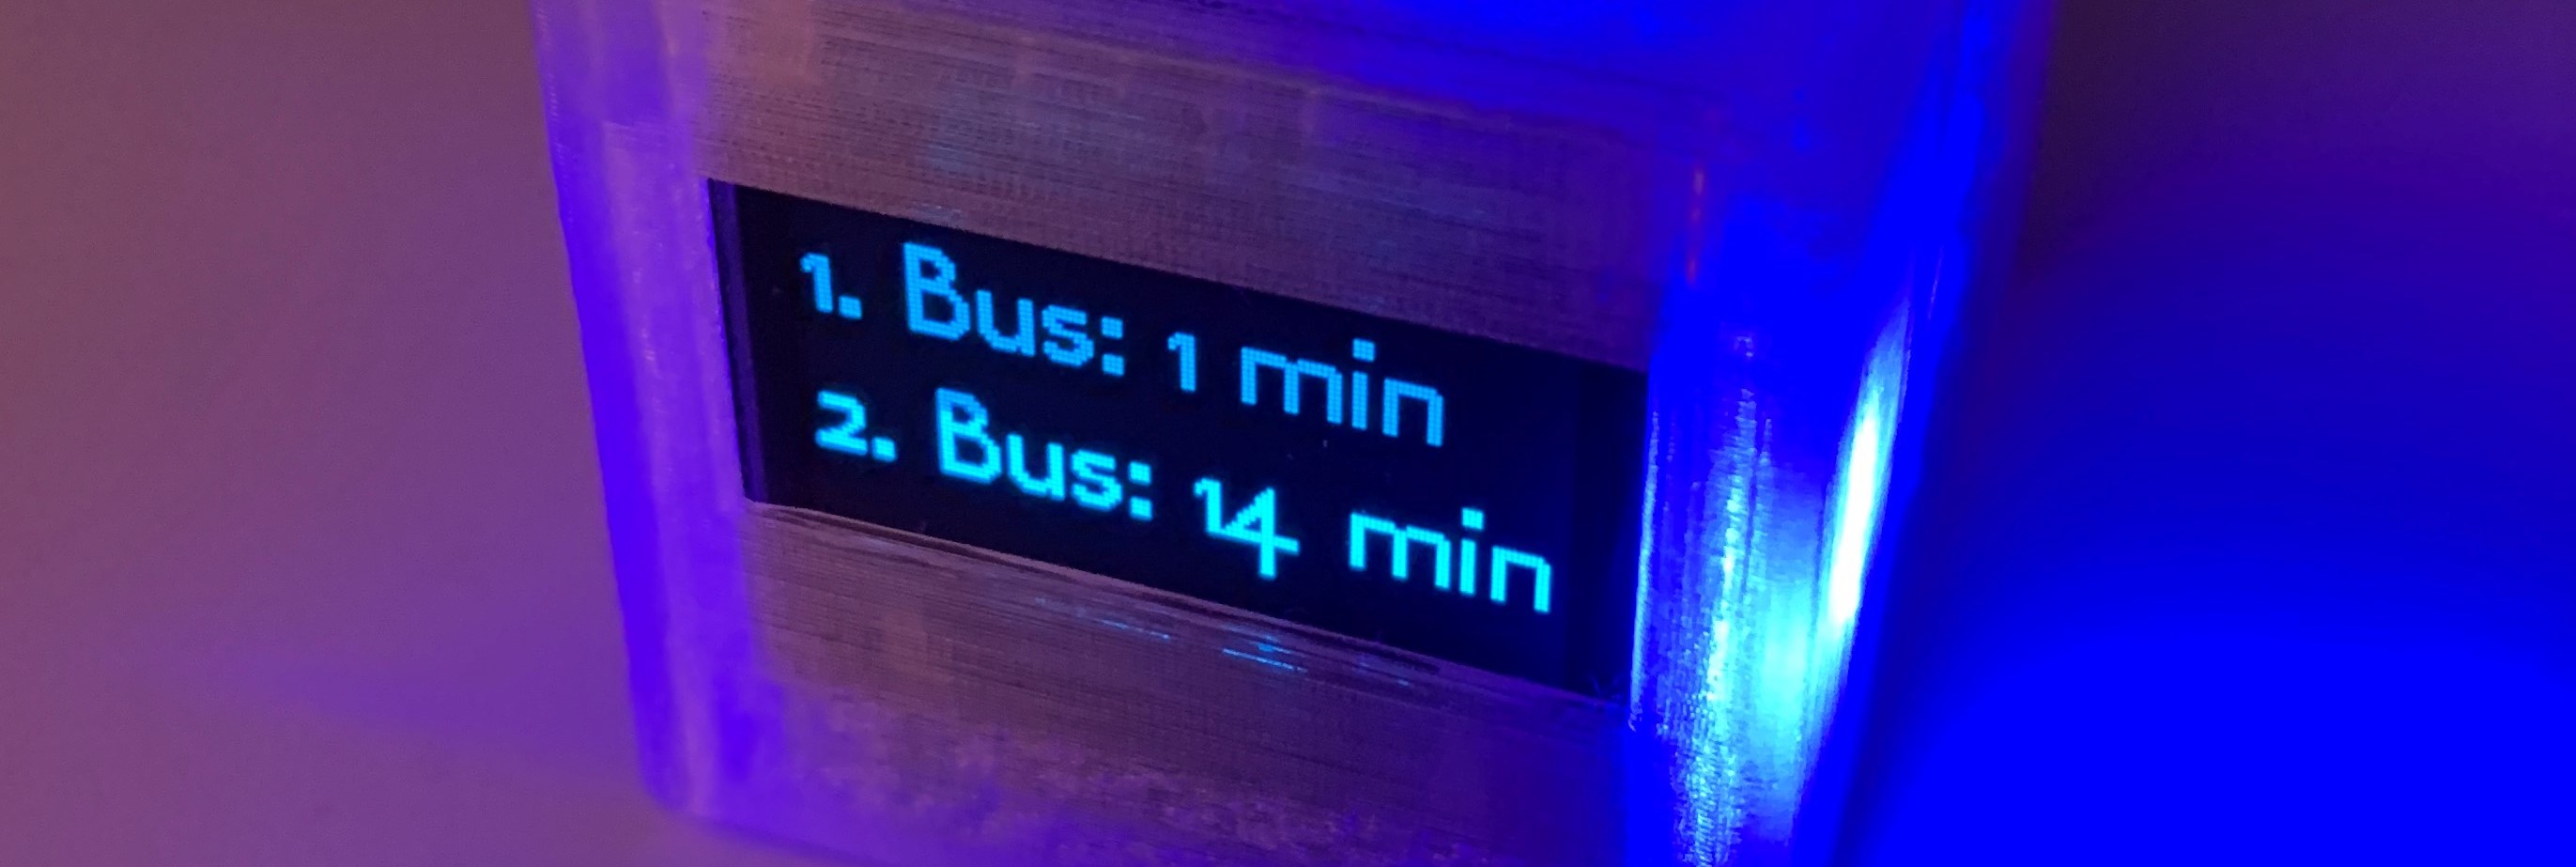
it.printf(0, 3, id(normal_font), "1. Bus: %.0f min", id(display_181_frist).state);
it.printf(0, 30, id(normal_font), "2. Bus: %.0f min", id(display_181_second).state);
- id: page2
lambda: |-
it.printf(0, 2, id(normal_font), "temp. %.01f°C", id(room_temperature).state);
it.printf(0, 30, id(normal_font), "humid. %.01f%%", id(room_humidity).state);
- id: page3
lambda: |-
it.printf(0, 2, id(normal_font), "%s", id(weather_display).state.c_str());
it.printf(0, 30, id(normal_font), "R.F. %.01f°C", id(display_real_feel).state);
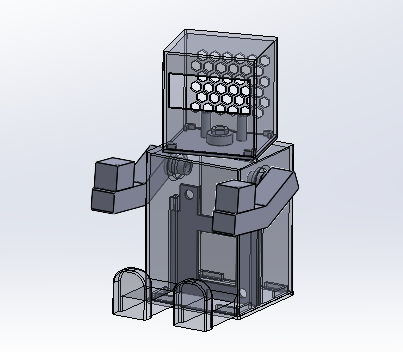
Case
first version
This is some kind of over-engineered design.
Second version
|

|
|---|
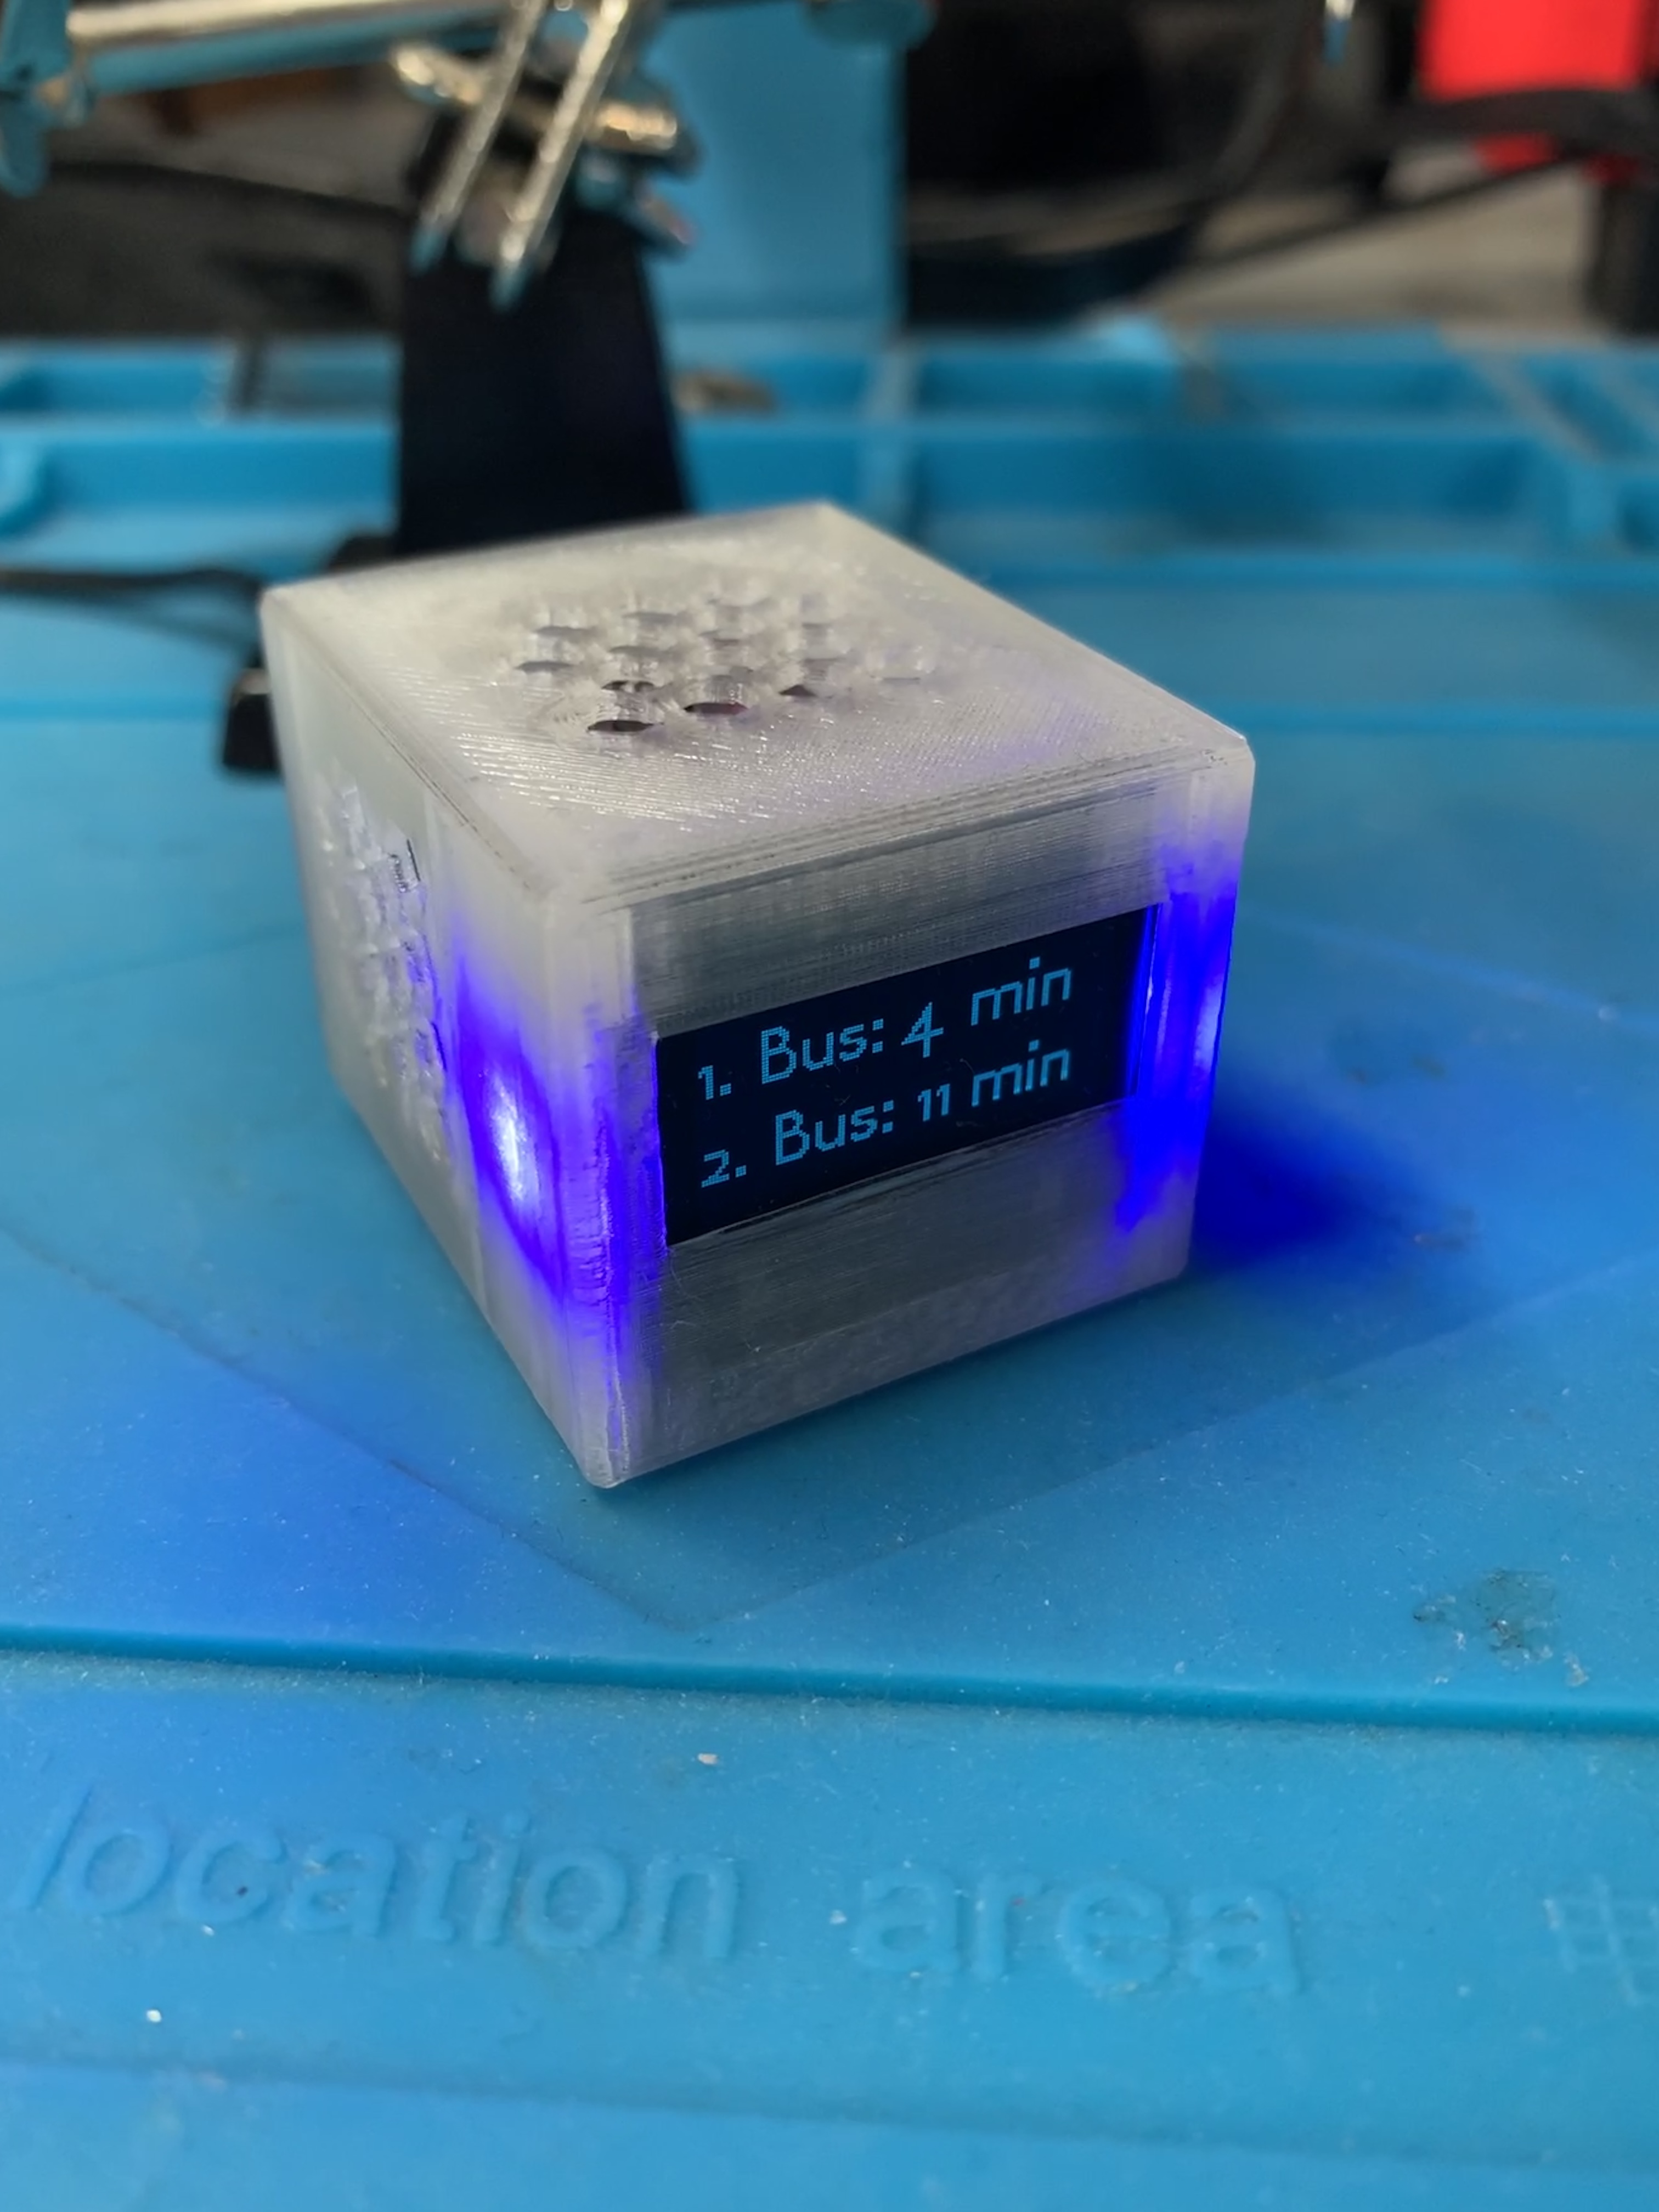
Final version